
Easy Mongolian Beef Recipe- Flavorful & Quick Dinner
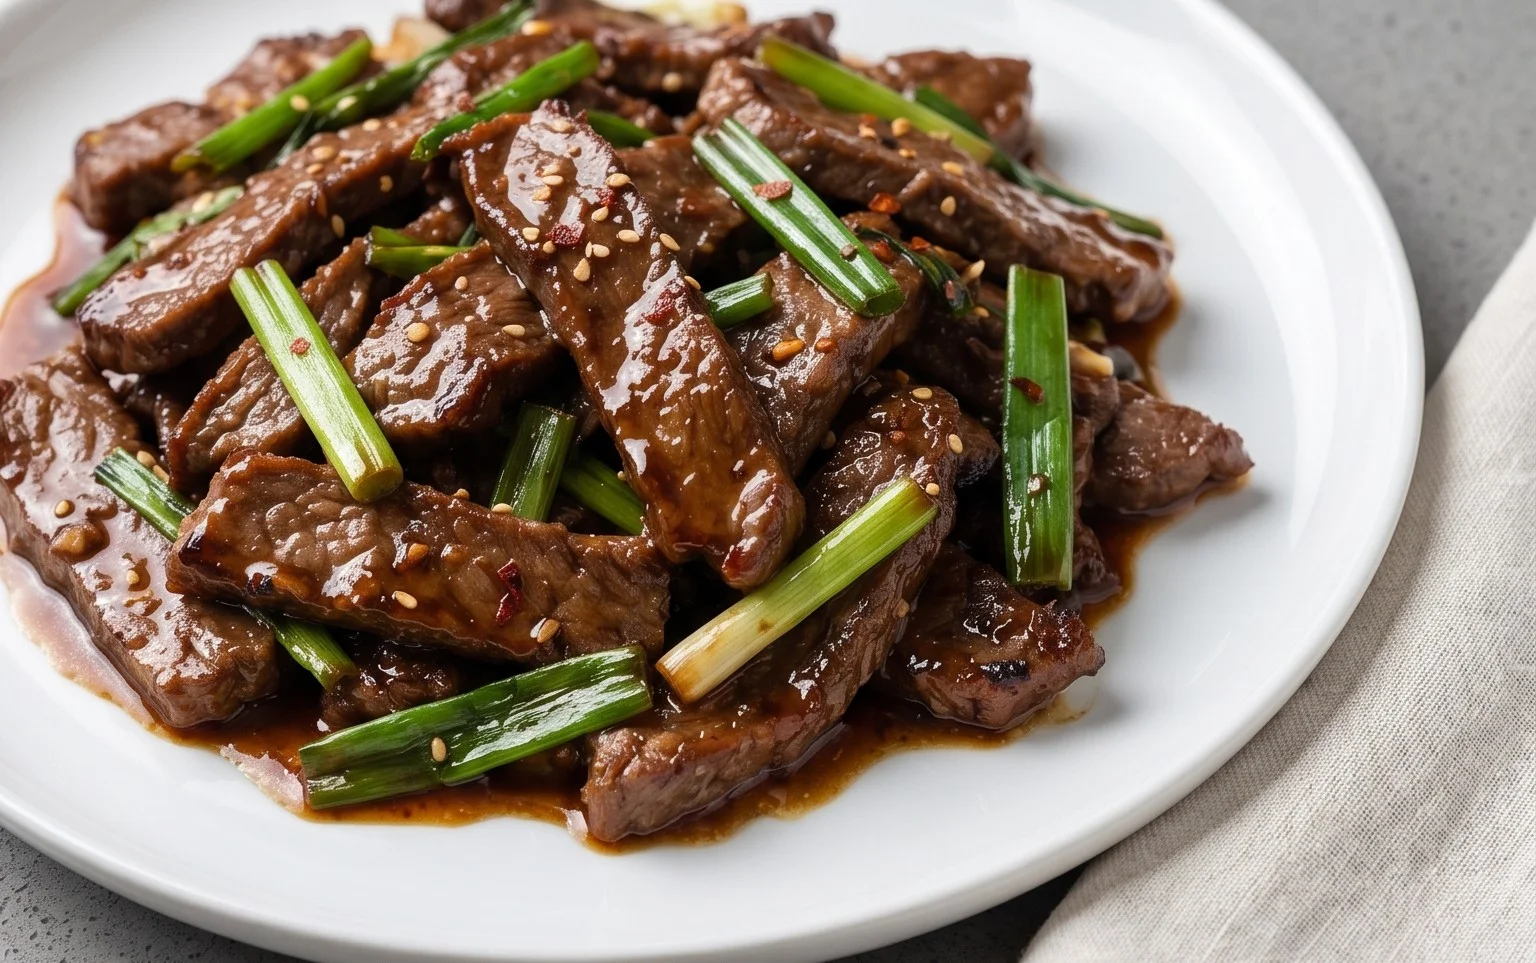
Mongolian Beef is a dish that consistently finds its way onto our “must-make” lists, and for good reason. This iconic stir-fry isn’t just a meal; it’s an experience. The irresistible combination of tender, thinly sliced beef coated in a glistening, savory-sweet sauce is what makes Mongolian Beef so universally adored. It hits that perfect balance of flavors and textures – a little bit spicy, a lot umami, with a delightful chew from the beef and a crispness from any optional vegetables we might add. What truly elevates homemade Mongolian Beef beyond a simple takeout order is the ability to control the quality of ingredients and the precise flavor profile. You get to infuse it with your own touch, ensuring every bite is an explosion of deliciousness. Get ready to recreate this fan-favorite in your own kitchen!
Ingredients:
Crafting Your Own Delicious Mongolian Beef
There are some dishes that, once you taste them, you can’t quite forget. Mongolian Beef is one of those culinary treasures. That perfect balance of savory, sweet, and a hint of spice, all clingin extractg to tender, thinly sliced beef – it’s a symphony of flavors that’s surprisingly achievable in your own kitchen. Forget expensive takeout; we’re about to unlock the secrets to creating this restaurant-quality classic at home. The key lies in a few simple techniques and the right ingredients, which, luckily, are all readily available. We’ll be marinating the beef to ensure maximum tenderness and then quickly stir-frying it to achieve that irresistible texture. Get ready to impress yourself (and anyone lucky enough to share your meal!).
Preparing the Star: The Beef
Our journey begin extracts with preparing the beef. For authentic Mongolian Beef, flank steak is the go-to choice due to its excellent texture when sliced thinly and cooked quickly. The first crucial step is to get your beef properly sliced. If your butcher can do it for you, that’s ideal. If you’re tackling it yourself, partially freezing the steak for about 20-30 minutes will make it much easier to achieve those paper-thin slices, ideally between ⅛ to ¼ inch thick. Once sliced, we’ll move on to the marinade, which is where the magic really starts to happen. In a medium bowl, combine the thinly sliced beef with 2 tablespoons of water, 2 teaspoons of Shaoxing rice vinegar, ½ teaspoon of Kosher salt (or a touch less if you’re using finer table salt), and ¼ teaspoon of baking soda. The baking soda is a secret weapon for tenderizing meat in stir-fries; it helps to break down some of the proteins, ensuring a wonderfully tender bite. Give everything a good mix, ensuring each piece of beef is coated. Let this marinate for at least 15-20 minutes at room temperature. While the beef is marinating, we’ll prepare the sauce and other components.
The Flavorful Sauce and Aromatics
Now, let’s assemble the sauce that will bring our Mongolian Beef to life. In a small bowl, whisk together 1 tablespoon of Shaoxing rice vinegar, 3 tablespoons of granulated sugar, and 2 tablespoons of regular soy sauce. Set this aside for now. This simple combination provides the essential sweet and savory base for our dish. Next, we’ll address our aromatics. Mince about 2 cloves of garlic – you’ll need approximately 1 tablespoon of minced garlic. Slice half a large yellow onion into thin strips. Finally, prepare your green onions. Wash them and then cut them into roughly 2-inch pieces. It’s important to separate the white and light green parts from the dark green tops. The white parts will be stir-fried with the onions and beef for a subtle onion flavor, while the green tops will be added at the very end for a burst of fresh color and mild onion essence. If you’re using rice vermicelli, prepare it according to package directions. Typically, this involves soaking them in hot water until softened. Once prepared, drain them well and set aside.
The Stir-Fry: Bringin extractg it All Together
This is where the excitement happens! We’re going to cook this dish quickly over high heat, so have everything prepped and within easy reach. First, we need to coat the marinated beef. To the marinated beef, add 2 tablespoons of cornstarch and 1 tablespoon of neutral oil (like vegetable or canola oil), plus 1 teaspoon of cracked black pepper. The cornstarch will create a light coating that helps the sauce adhere beautifully and also contributes to a slightly crispy exterior when fried. Toss the beef gently until each slice is evenly coated. Heat a wok or a large, heavy-bottomed skillet over high heat until it’s smoking hot. Add the coated beef in a single layer. It’s important not to overcrowd the pan; cook in batches if necessary to ensure proper searing rather than steaming. Stir-fry the beef for about 1-2 minutes per side, or until it’s browned and slightly crispy. The goal here is not to cook the beef through, but to sear the outside. Remove the seared beef from the wok and set it aside.
Building the Layers of Flavor
With the beef set aside, we’ll use the same hot wok. If there’s excessive oil, you can carefully pour some off, leaving about a tablespoon. Add the sliced yellow onion and the white and light green parts of the green onions to the wok. Stir-fry for about 1-2 minutes until the onions start to soften and become slightly translucent. Then, add the minced garlic and stir-fry for another 30 seconds until fragrant. Be careful not to burn the garlic, as this can impart a bitter flavor. Now, it’s time to reintroduce the beef to the wok. Pour the prepared sauce mixture over the beef and vegetables. Stir everything together quickly, allowing the sauce to thicken and coat the beef and vegetables. This should only take another minute or two. The cornstarch on the beef will help to thicken the sauce into a glossy coating.
The Final Flourish
As the sauce thickens and coats everything beautifully, add the reserved dark green parts of the green onions. If you’re using the optional rice vermicelli, add them now as well, tossing them gently to combine and warm through. Give it all a final stir to ensure everything is evenly distributed and heated. The green onions should still be vibrant green, providing a fresh contrast to the rich sauce. Taste and adjust seasoning if necessary – a little more soy sauce for saltiness, or a pinch more sugar for sweetness. Serve your magnificent Mongolian Beef immediately. It’s fantastic served over steamed rice, allowing the delicious sauce to be soaked up. You can also garnish with a few extra toasted sesame seeds or a sprinkle of red pepper flakes if you enjoy a bit of heat. Enjoy the fruits of your labor – this homemade Mongolian Beef is sure to become a favorite!
Conclusion:
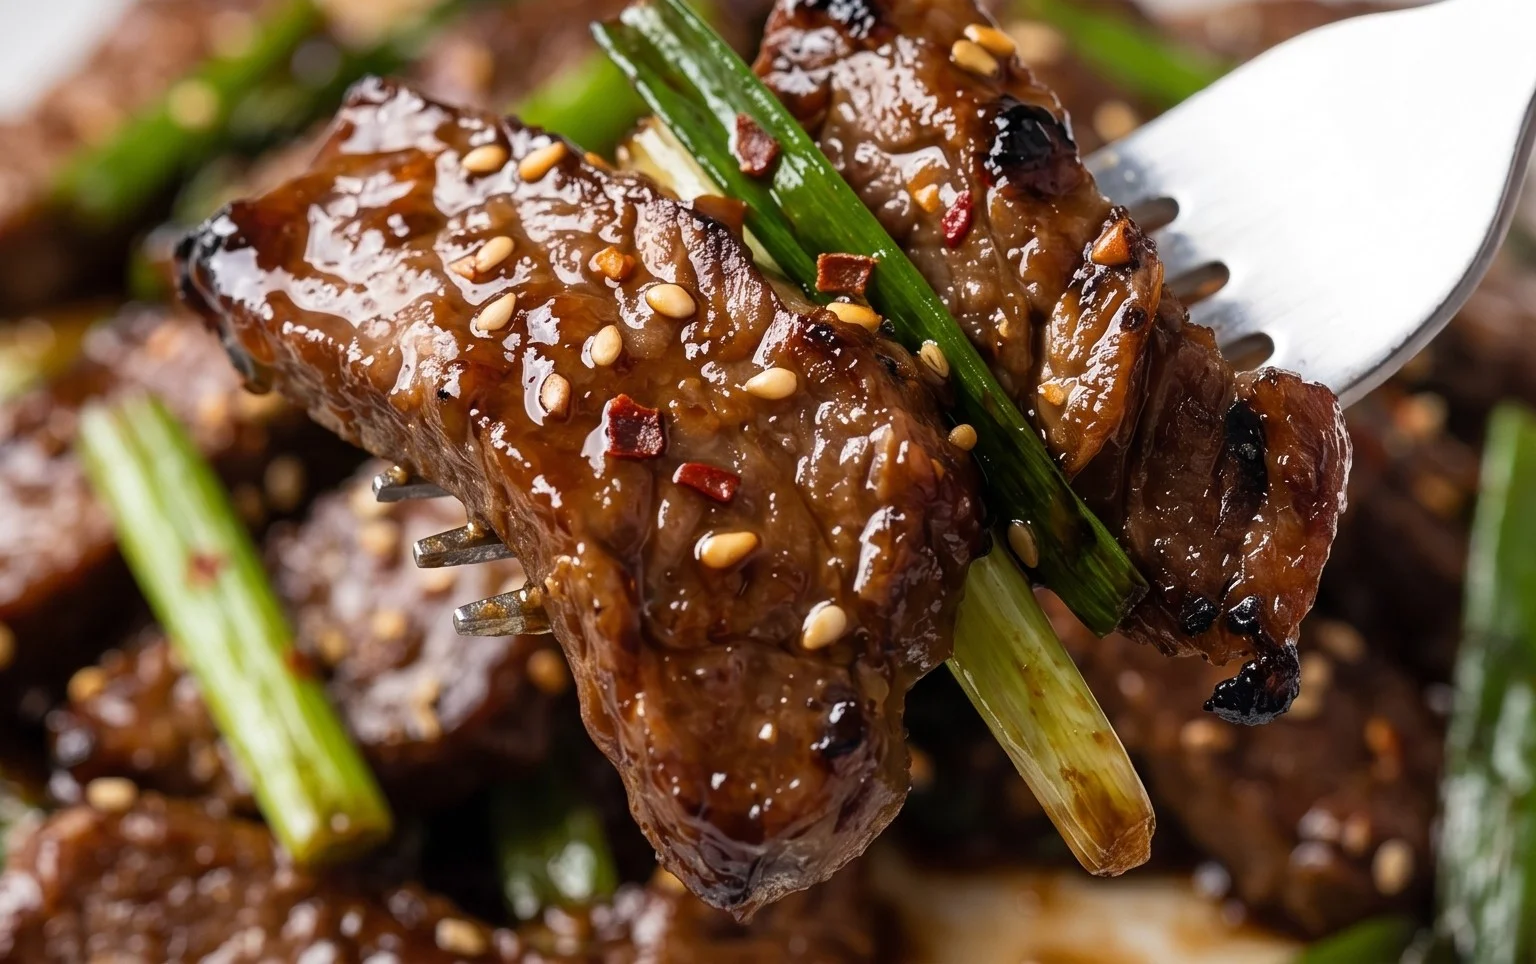
I hope you’re as excited as I am to try this incredible Mongolian Beef recipe! It’s a fantastic weeknight meal because it’s surprisingly quick to make, packed with savory and slightly sweet flavors, and uses readily available ingredients. The crispy beef contrasted with the luscious, umami-rich sauce is truly irresistible. This dish is a guaranteed crowd-pleaser, and once you master it, you’ll find yourself returning to it again and again.
For serving, the classic pairing is steamed white or brown rice to soak up all that delicious sauce. A side of steamed broccoli or stir-fried bok choy also adds a healthy, vibrant element. If you’re feeling adventurous, consider a sprinkle of toasted sesame seeds or thinly sliced green onions for an extra layer of texture and freshness. Don’t be afraid to experiment with variations – add some sliced bell peppers or onions to the stir-fry for added color and crunch, or a pinch of chili flakes if you prefer a little heat.
Give this Mongolian Beef recipe a go! I promise you won’t be disappointed. It’s a delicious way to bring a taste of your favorite Asian restaurant right into your own kitchen.
Frequently Asked Questions:
What is the best cut of beef for Mongolian Beef?
For the best texture, I recommend using flank steak or sirloin steak. These cuts are tender and slice beautifully against the grain, ensuring a melt-in-your-mouth experience. Avoid tougher cuts as they may result in a chewier final dish.
Can I make the sauce ahead of time?
Yes, absolutely! The sauce can be mixed and stored in an airtight container in the refrigerator for up to 2-3 days. This makes assembly even quicker when you’re ready to cook. Just give it a good stir before adding it to the pan with the beef and vegetables.
How can I make my Mongolian Beef extra crispy?
The key to crispy beef is to ensure your beef is thoroughly coated in cornstarch and then fried in hot oil until golden brown. Don’t overcrowd the pan; fry the beef in batches if necessary to maintain a high oil temperature. This allows the cornstarch coating to become wonderfully crisp rather than steaming.
Mongolian Beef
A flavorful and easy recipe for Mongolian Beef, featuring tender beef in a savory sauce.
Ingredients
-
1 pound beef flank steak (thinly sliced (between ⅛ to ¼ inch thick))
-
2 tablespoons water
-
2 teaspoons Shaoxing rice vinegar
-
½ teaspoon Kosher salt ((a little less if using fine salt))
-
¼ teaspoon baking soda
-
2 tablespoons cornstarch
-
1 tablespoon oil (any neutral oil)
-
1 teaspoon cracked black pepper (more or less to taste)
-
1 tablespoon Shaoxing rice vinegar
-
3 tablespoons granulated sugar
-
2 tablespoons regular soy sauce
-
1 tablespoon garlic (minced (about 2 cloves))
-
½ large yellow onion (sliced)
-
1 bunch green onion (cut into 2 inch pieces (separate the white and green parts))
-
1 ounce rice vermicelli (medium thickness (optional; use more or less to preference))
Instructions
-
Step 1
In a bowl, combine the thinly sliced beef with 2 tablespoons of water, 2 teaspoons of Shaoxing rice vinegar, ½ teaspoon of Kosher salt, and ¼ teaspoon of baking soda. Let it marinate for 10-15 minutes. -
Step 2
Add 2 tablespoons of cornstarch to the marinated beef and toss to coat evenly. Set aside. -
Step 3
In a separate small bowl, whisk together 1 tablespoon of Shaoxing rice vinegar, 3 tablespoons of granulated sugar, and 2 tablespoons of regular soy sauce to create the sauce. Set aside. -
Step 4
Heat 1 tablespoon of oil in a wok or large skillet over medium-high heat. Add the marinated beef in a single layer and sear for about 1-2 minutes per side until browned. Remove beef from the wok and set aside. -
Step 5
Add the sliced yellow onion and minced garlic to the wok. Stir-fry for about 30 seconds until fragrant. -
Step 6
Pour the prepared sauce into the wok. Bring to a simmer, then add the seared beef back into the wok. Stir to coat the beef in the sauce. -
Step 7
Add the white parts of the green onion and cracked black pepper. Stir-fry for another minute until the sauce thickens and coats the beef. If using, stir in the cooked rice vermicelli. -
Step 8
Garnish with the green parts of the green onion before serving.
Important Information
Nutrition Facts (Per Serving)
It is important to consider this information as approximate and not to use it as definitive health advice.
Allergy Information
Please check ingredients for potential allergens and consult a health professional if in doubt.