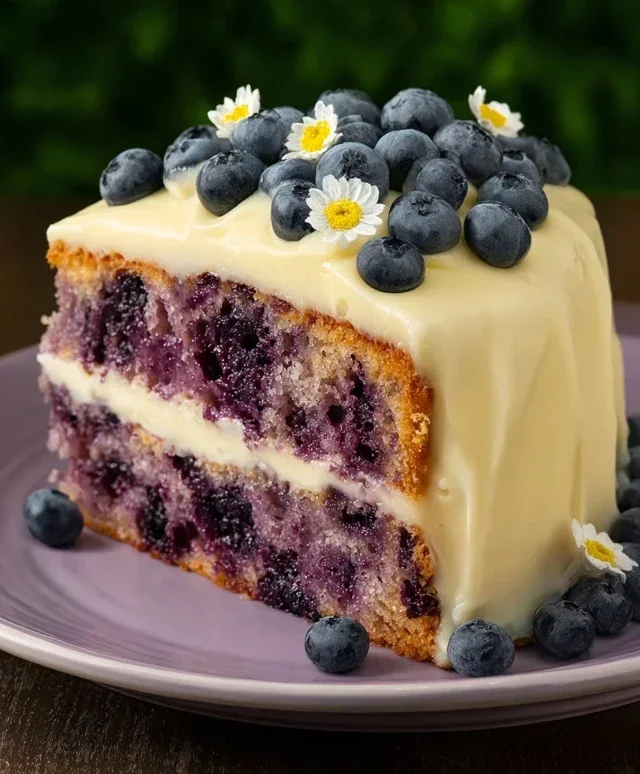
Fruity Pebbles Cheesecake Tacos-Sweet Dessert Fun
Fruity Pebbles Cheesecake Tacos are about to become your new obsession, and trust me, you’re going to want to dive headfirst into this rainbow-hued dream. Imagin extracte your favorite creamy, dreamy cheesecake filling, swirled with the vibrant colors and nostalgic crunch of Fruity Pebbles, all nestled within a warm, slightly crisp taco shell. It’s a playful fusion of textures and flavors that instantly transports you back to carefree childhood mornings, but with a sophisticated dessert twist. People are going absolutely wild for these delightful creations because they tap into that universal love for sweet, satisfying desserts, while also delivering a visual spectacle that’s as delightful to behold as it is to devour. What truly makes these Fruity Pebbles Cheesecake Tacos special is their unexpected yet brilliant combination; it’s a dessert that’s both incredibly fun and undeniably delicious, proving that sometimes, the most magical treats come from the most whimsical ideas. Get ready for a taste sensation that’s out of this world!

Fruity Pebbles Cheesecake Tacos
Get ready for a dessert explosion that’s as fun to make as it is to eat! These Fruity Pebbles Cheesecake Tacos are a vibrant, sweet, and utterly delightful treat that will have everyone beggin extractg for seconds. Imagin extracte the crunch of a sweet, crispy shell, a creamy, tangy cheesecake filling, and the unmistakable burst of fruity flavor from your favorite childhood cereal. This recipe takes the beloved flavors of Fruity Pebbles and reinvents them into a playful and irresistible taco format. Perfect for parties, a fun family activity, or just a seriously satisfying sweet craving, these tacos are guaranteed to bring smiles all around. Let’s dive in and create some magic!
Ingredients:
Creating Your Crispy Taco Shells
This is where the magic begin extracts! We’re going to transform that colorful cereal into perfectly crunchy taco shells. It’s a surprisingly simple process, and the results are incredibly rewarding.
1. First, we need to prepare our cereal mixture. In a large bowl, combine the 3 cups of colorful fruity cereal with the 1/2 cup of melted unsalted butter. It’s important to ensure the butter is fully melted but not hot, so it coats the cereal evenly without making it soggy. Gently stir everything together until each piece of cereal is coated in butter. This butter will act as a binder and help create that satisfying crunch when they bake.
2. Next, we’ll shape these buttery cereal clusters into taco shells. You’ll need a taco shell mold or a few pieces of aluminum foil. If you’re using foil, gently shape it into taco shell forms. Take about 1/4 cup of the cereal mixture and press it firmly into the mold or foil, shaping it into a taco shell. You want to create a compact, even layer. Press down with the back of a spoon or your fingers to ensure it holds its shape. Repeat this process until you have enough shells for your desired number of tacos. A standard recipe usually yields about 6-8 shells, depending on their size.
3. Now, it’s time to bake these creations. Preheat your oven to 350°F (175°C). Carefully place your shaped cereal shells onto a baking sheet. Bake for about 8-10 minutes, or until the edges are lightly golden and the shells feel firm to the touch. Keep a close eye on them during the last few minutes, as cereal can go from perfectly baked to burnt very quickly. Once they’re ready, remove them from the oven and let them cool completely on the baking sheet. As they cool, they will become wonderfully crisp and sturdy.
Crafting the Dreamy Cheesecake Filling
While our taco shells are cooling, we’ll whip up the luscious cheesecake filling. This creamy, sweet filling is the perfect counterpoint to the crunchy shell.
4. In a medium bowl, combine the 8 oz of softened cream cheese, 1/2 cup of sifted powdered sugar, and 1 tsp of pure vanilla extract. It’s crucial that your cream cheese is softened to room temperature. This will ensure a smooth, lump-free filling. If your cream cheese is cold, you’ll end up with a grainy texture. Sifting the powdered sugar is also key to achieving that velvety smooth consistency. Beat these ingredients together with an electric mixer on medium speed until the mixture is light, fluffy, and completely smooth. This should take about 2-3 minutes.
5. Once your cream cheese mixture is perfectly smooth, gently fold in the 1 cup of whipped cream. Be gentle with this step to maintain the airy lightness of the whipped cream. You can use a spatula or a whisk for this. Continue to fold until just combined and the filling is uniform in color and texture. This will give your cheesecake filling a wonderfully creamy and decadent mouthfeel.
Assembling Your Fruity Pebbles Masterpieces
The best part! It’s time to bring all these delicious components together.
6. Once your Fruity Pebbles taco shells have cooled completely and are crisp, it’s time to assemble. Carefully spoon or pipe the cheesecake filling into each cooled taco shell. Fill them generously, but don’t overstuff them to the point where they can’t hold their shape. After filling, you can sprinkle a little additional colorful fruity cereal over the top of each taco for an extra pop of color and crunch. These are best served immediately after assembly so the shells stay perfectly crisp. If you need to make them ahead, store the shells and filling separately and assemble just before serving.
Enjoy every vibrant, crunchy, creamy bite of your Fruity Pebbles Cheesecake Tacos!
Conclusion:
There you have it – the recipe for absolutely delightful Fruity Pebbles Cheesecake Tacos! This dessert is a true winner because it combines the creamy indulgence of cheesecake with the fun, crunchy texture and vibrant flavor of everyone’s favorite childhood cereal. The taco shell, made from a crisp waffle cone, provides the perfect vehicle for this sweet masterpiece, making it both visually appealing and incredibly satisfying. They’re perfect for parties, a fun weekend treat, or anytime you need a burst of nostalgic joy!
For serving, consider garnishing with a dollop of whipped cream, a few extra Fruity Pebbles, or even some fresh berries for an extra pop of color and freshness. These tacos are wonderfully versatile! If you’re feeling adventurous, try swapping out the Fruity Pebbles for other colorful cereals like Cinnamon Toast Crunch or even some crushed colorful candies. You could also experiment with different cheesecake flavors, like adding a swirl of strawberry puree or a hint of lemon zest to the filling. I truly encourage you to give these Fruity Pebbles Cheesecake Tacos a try; they are guaranteed to be a crowd-pleaser and a recipe you’ll want to make again and again!
Frequently Asked Questions:
Can I make the taco shells ahead of time?
Absolutely! You can prepare the waffle cone taco shells a day in advance and store them in an airtight container at room temperature. This makes assembly even quicker when you’re ready to serve.
What if I don’t have waffle cones?
No problem! You can use store-bought ice cream cones that have a similar shape, or even bake your own edible taco shells using a simple flour tortilla and a taco mold in the oven until crisp.
Are these too sweet for adults?
While they are definitely a sweet treat, the tangin extractess of the cream cheese in the cheesecake filling balances out the sweetness of the Fruity Pebbles. Many adults find them to be a delightful and nostalgic indulgence!
Fruity Pebbles Cheesecake Tacos
A fun and vibrant dessert taco featuring a sweet and creamy Fruity Pebbles cheesecake filling nestled in a crispy cereal shell, perfect for a playful treat.
Ingredients
-
3 cups colorful fruity cereal
-
1/2 cup unsalted butter, melted
-
8 oz cream cheese, softened
-
1/2 cup powdered sugar, sifted
-
1 tsp pure vanilla extract
-
1 cup whipped cream
-
Additional fruity cereal for garnish
Instructions
-
Step 1
In a bowl, crush 2 cups of the fruity cereal into fine crumbs. Mix the crushed cereal with the melted butter until well combined. -
Step 2
Press the cereal-butter mixture evenly into the bottom and up the sides of 6 mini muffin tins to form taco shells. Chill in the refrigerator for at least 15 minutes. -
Step 3
In a separate bowl, beat the softened cream cheese until smooth. Gradually beat in the sifted powdered sugar and vanilla extract until fully incorporated. -
Step 4
Gently fold in the whipped cream into the cream cheese mixture until just combined. Be careful not to overmix. -
Step 5
Spoon the cheesecake filling into the chilled cereal taco shells. -
Step 6
Garnish the tops of the cheesecake tacos with the remaining 1 cup of whole fruity cereal and additional garnish as desired. Serve immediately.
Important Information
Nutrition Facts (Per Serving)
It is important to consider this information as approximate and not to use it as definitive health advice.
Allergy Information
Please check ingredients for potential allergens and consult a health professional if in doubt.