Country Fried Chicken Recipe- Crispy & Delicious
Country fried chicken isn’t just a meal; it’s a warm hug on a plate, a nostalgic whisper of simpler times, and a testament to the power of comfort food. There’s a reason this classic dish holds such a special place in our hearts and kitchens. It’s the unparalleled crunch of that golden-brown, seasoned coating giving way to impossibly tender, juicy chicken beneath. It’s the savory, rich flavor that dances on your tongue, a perfect balance of spices and goodness. What truly makes country fried chicken so special is its honest, unpretentious nature. It’s a dish meant to be shared, to gather loved ones around the table, and to create lasting memories. Forget fancy techniques; this is about pure, unadulterated deliciousness, crafted with love and a few pantry staples. Get ready to master the art of perfect country fried chicken and bring a piece of that comforting magic into your own home.
Country Fried Chicken
There’s something undeniably comforting and soul-satisfying about perfectly crispy, golden-brown country fried chicken. It’s a dish that evokes warm memories, family gatherings, and that quintessential taste of home. Forget the fancy restaurants; this is the real deal, made right in your own kitchen. We’re talking about chicken that’s incredibly tender on the inside, with a crunchy, flavorful crust that crackles with every bite. It’s a process, for sure, but one that yields a reward that is absolutely worth the effort. Get ready to impress yourself and anyone lucky enough to share this meal with you.
Ingredients:
Cooking Instructions
1. Preparing the Chicken
The first step to achieving that amazing texture is to properly prepare the chicken. We’re using boneless, skinless chicken breasts here, which are convenient and cook relatively quickly. To ensure even cooking and to tenderize the meat, we’ll pound the chicken breasts. Place each chicken breast between two pieces of plastic wrap or inside a large zip-top bag. Using a meat mallet, rolling pin, or even the bottom of a heavy pan, gently but firmly pound the chicken breasts until they are about ½ inch thick. This not only ensures they cook through evenly but also creates a more tender final product. Don’t go overboard and make them too thin, or they might dry out.
2. The Buttermilk Brine
This is where the magic truly begin extracts for tender and flavorful chicken. In a large bowl or a shallow dish, combine the 2 cups of buttermilk, 2 whisked large eggs, 3 teaspoons of salt, 1 ½ teaspoon of black pepper, and the ½ teaspoon of cayenne pepper. Whisk these ingredients together until well combined. Add the pounded chicken breasts to this mixture, ensuring each piece is fully submerged. Cover the bowl or dish and refrigerate for at least 4 hours, or ideally, overnight. This long soak in buttermilk will work wonders to tenderize the chicken and infuse it with a subtle tang that complements the savory crust. The acidity in the buttermilk breaks down the proteins in the chicken, making it incredibly juicy and tender.
3. Creating the Dredgin extractg Station
While the chicken is happily marinating, it’s time to set up your dredgin extractg station. This is crucial for achieving that perfect, crispy coating. In a large shallow dish or pie plate, whisk together the 1 ½ cup of all-purpose flour, ½ cup of breadcrum extractbs, 2 ½ teaspoons of seasoned salt, ¾ teaspoon of paprika, and the remaining ½ teaspoon of black pepper. Mix these dry ingredients thoroughly. Having everything prepped and ready to go will make the actual breading process much smoother and more efficient, ensuring a consistent coating on each piece of chicken.
4. Breading the Chicken
Once the chicken has finished its time in the buttermilk brine (you can remove it from the refrigerator about 20-30 minutes before breading to let it come closer to room temperature, which helps with even cooking), it’s time to bread. Remove one piece of chicken at a time from the buttermilk mixture, letting any excess drip back into the bowl. Dredge each piece of chicken generously in the flour and breadcrum extractb mixture, pressing down gently to ensure the coating adheres well. You want a thick, even coating. For an extra crispy crust, you can double-dip: after the first dredge, dip the chicken back into the buttermilk mixture briefly, then dredge it again in the flour mixture. Place the breaded chicken pieces on a clean plate or wire rack as you work.
5. Frying to Golden Perfection
Now for the part that brings it all together: the frying. In a large, heavy-bottomed skillet, heat 1 ½ cups of vegetable oil over medium-high heat until it reaches about 350°F (175°C). If you don’t have a thermometer, you can test the oil by dropping a tiny bit of the flour mixture in; it should sizzle immediately and float to the surface. Carefully place 1 or 2 pieces of breaded chicken into the hot oil, being careful not to overcrowd the pan. Overcrowding will lower the oil temperature and result in greasy, less crispy chicken. Fry for about 5-7 minutes per side, or until the chicken is golden brown and cooked through. The internal temperature should reach 165°F (74°C).
6. Draining and Resting
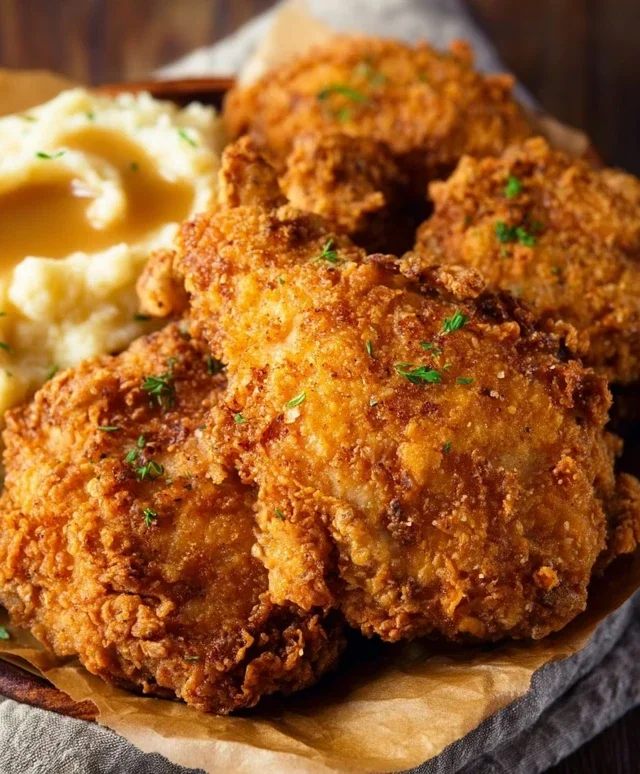
Once the chicken is beautifully golden and cooked, remove it from the skillet using a slotted spoon or tongs. Place the fried chicken on a wire rack set over a baking sheet. This allows excess oil to drain off, keeping the chicken crispy and preventing it from becoming soggy. Allowing the chicken to rest for a few minutes before serving also helps to redistribute the juices, ensuring maximum tenderness and flavor. Serve your glorious country fried chicken hot and enjoy the fruits of your labor! It’s absolutely divine with mashed potatoes, gravy, and your favorite Southern sides.
Conclusion:
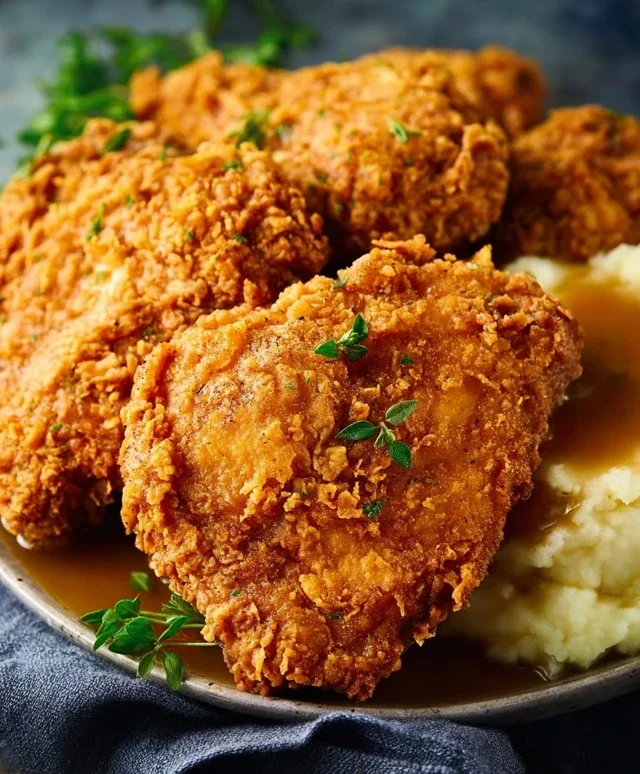
There you have it – your guide to achieving that perfect, golden-brown, crispy exterior and incredibly juicy interior of authentic country fried chicken. This recipe is a winner because it strikes that delightful balance between a robust, seasoned coating and tender, flavorful meat. It’s the kind of comfort food that brings smiles to faces and creates lasting memories around the dinner table. I truly believe anyone can master this dish and experience the satisfaction of serving up a truly exceptional meal.
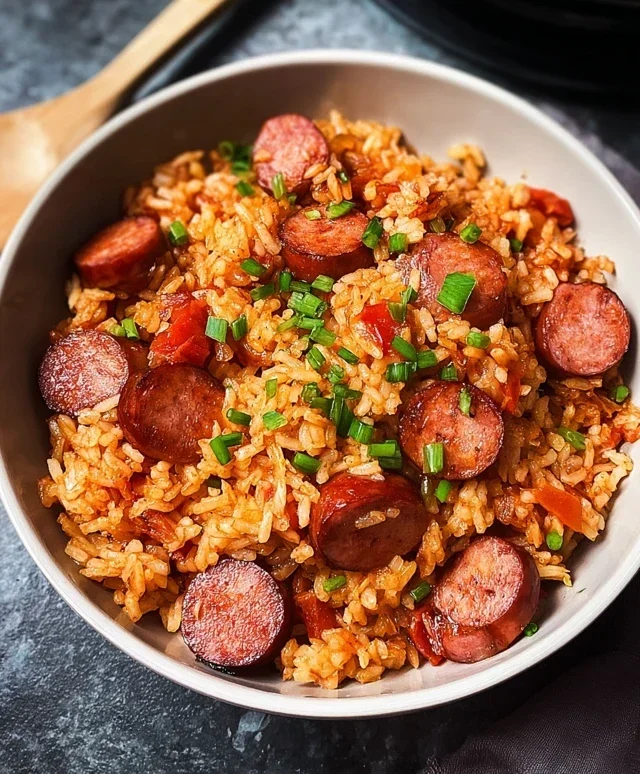
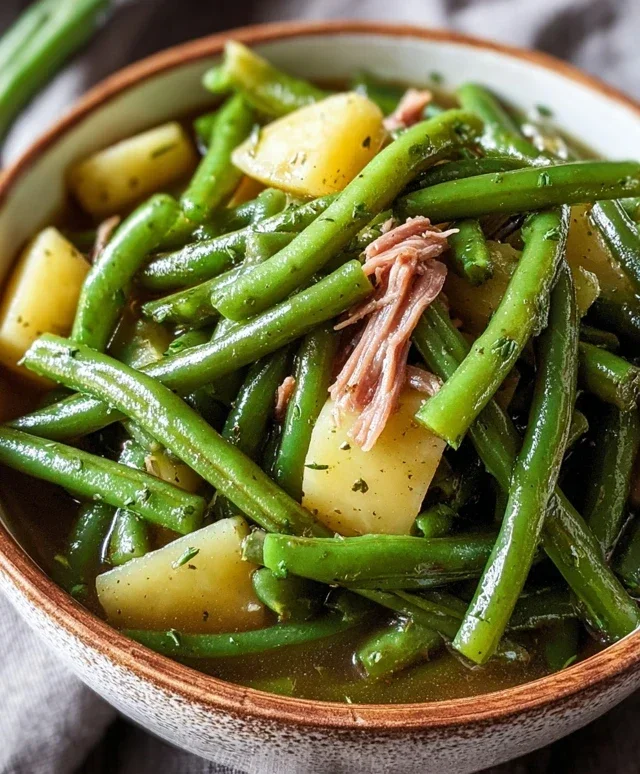
To make your country fried chicken experience even more memorable, I love serving it with classic Southern sides. Think creamy mashed potatoes drowning in gravy, a vibrant collard greens, or sweet and tangy coleslaw. Macaroni and cheese is also an absolute must! If you’re feeling adventurous, don’t be afraid to experiment with the brine. A touch of hot sauce or a hint of smoked paprika in your flour mixture can add exciting new dimensions to the flavor profile. So go ahead, gather your ingredients, and give this country fried chicken recipe a try. I promise you won’t be disappointed!
Frequently Asked Questions:
Can I make country fried chicken ahead of time?
While it’s best enjoyed fresh for optimal crispiness, you can prepare the chicken pieces and refrigerate them (unfried) for a few hours. For the best results, fry them just before serving.
What is the best oil for frying?
A neutral oil with a high smoke point is ideal. Vegetable oil, canola oil, or peanut oil are excellent choices as they can reach and maintain the necessary high temperatures for a perfect fry without burning.
How do I ensure my chicken is cooked through without burning the coating?
Maintaining the correct oil temperature is key. If it’s too low, the chicken will absorb too much oil and become greasy. If it’s too high, the coating will burn before the inside is cooked. Aim for around 350°F (175°C) and fry in batches to avoid overcrowding the pan, which can also lower the oil temperature.
Country Fried Chicken
Classic Southern-style country fried chicken with a crispy, flavorful coating.
Ingredients
-
4 boneless skinless chicken breasts
-
2 cups buttermilk
-
2 large eggs
-
3 teaspoons salt
-
1 ½ cup all-purpose flour
-
½ cup breadcrumbs
-
2 ½ teaspoons seasoned salt
-
¾ teaspoon paprika
-
½ teaspoon cayenne pepper
-
1 ½ teaspoon black pepper
-
1 ½ cups vegetable oil
Instructions
-
Step 1
Cut chicken breasts into 2-3 pieces each. In a bowl, combine buttermilk and eggs. Add chicken pieces, ensuring they are fully submerged. Marinate in the refrigerator for at least 1 hour, or preferably overnight. -
Step 2
In a shallow dish or pie plate, whisk together all-purpose flour, breadcrumbs, seasoned salt, salt, paprika, cayenne pepper, and black pepper. -
Step 3
Heat vegetable oil in a large, heavy skillet over medium-high heat until it shimmers (about 350°F or 175°C). -
Step 4
Remove chicken pieces from the buttermilk mixture, letting excess drip off. Dredge each piece thoroughly in the flour mixture, pressing to ensure a good coating. Place coated chicken on a wire rack. -
Step 5
Carefully place chicken pieces into the hot oil, ensuring not to overcrowd the skillet. Fry in batches for about 5-7 minutes per side, or until golden brown and cooked through (internal temperature of 165°F or 74°C). -
Step 6
Remove fried chicken from the skillet and place on a wire rack set over a baking sheet to drain any excess oil.
Important Information
Nutrition Facts (Per Serving)
It is important to consider this information as approximate and not to use it as definitive health advice.
Allergy Information
Please check ingredients for potential allergens and consult a health professional if in doubt.