Easy Chicken Caesar Wraps-Quick & Delicious Recipe
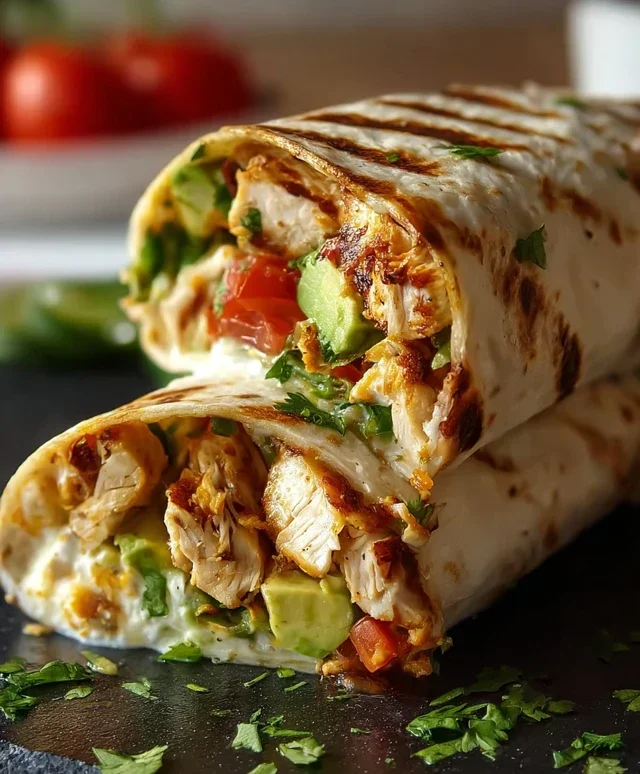
Chicken Caesar Wraps are a true weeknight warrior, a culinary cbeef hampion that consistently hits all the right notes. We all know that feeling: a rum extractble in the stomach, a craving for something satisfying, yet nothing too heavy, and absolutely no desire for a lengthy kitchen expedition. That’s precisely where the humble yet magnificent Chicken Caesar Wrap swoops in to save the day. What makes this dish so universally adored? It’s the perfect marriage of textures and flavors – tender, seasoned chicken nestled alongside crisp romaine lettuce, crunchy croutons, and that unmistakable tangy Caesar dressing, all cocooned within a soft tortilla. It’s a complete meal in one convenient package, a delightful blend of familiar comfort and zesty sophistication that makes you feel like you’re enjoying something truly special without all the fuss. Get ready to elevate your lunch or dinner game with this incredibly delicious and easy recipe for Chicken Caesar Wraps.
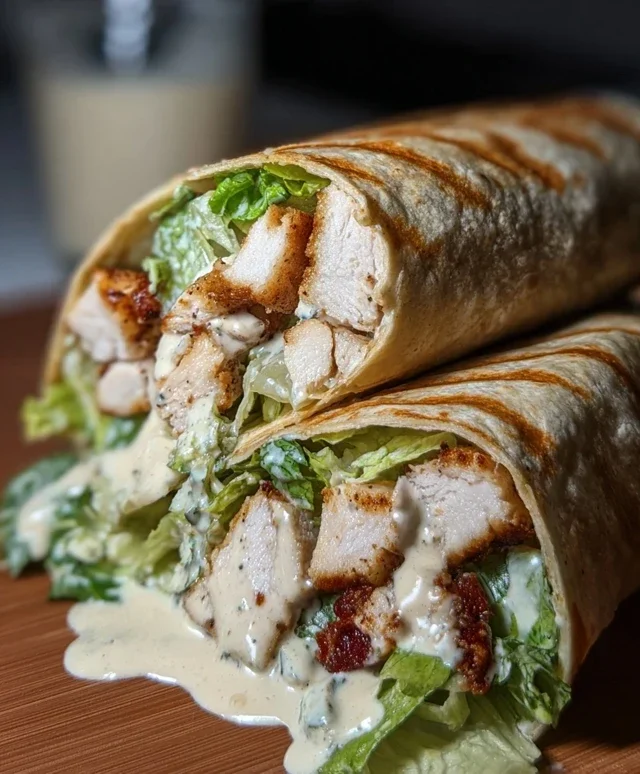
Chicken Caesar Wraps
There’s something incredibly satisfying about a well-made wrap. It’s the perfect combination of convenience and deliciousness, and when it comes to classic flavors, few things beat a Chicken Caesar Wrap. This recipe takes that beloved salad and transforms it into a portable, satisfying meal that’s perfect for lunch, a quick dinner, or even packed for a picnic. We’re keeping it simple and focusing on fresh, quality ingredients to let those iconic Caesar flavors shine through. Forget store-bought and embrace the joy of creating this at home – it’s easier than you think and incredibly rewarding.
Let’s get started on building these delightful wraps!
Ingredients:
Preparing the Chicken
The foundation of our delicious wrap is perfectly cooked chicken. For this recipe, we’ll be pan-searing our chicken breasts to ensure they’re juicy and flavorful. Before we begin extract, it’s a good idea to pound the chicken breasts slightly. This helps them cook more evenly and quickly. You can do this by placing each chicken breast between two sheets of plastic wrap or in a large zip-top bag and gently tapping with a rolling pin or the flat side of a meat mallet. Don’t go overboard; you just want to create a more uniform thickness.
Once pounded, we’ll season our chicken generously with salt and freshly ground black pepper. This is a crucial step for building flavor from the inside out. The salt will help to draw out some moisture initially, which then gets reabsorbed during cooking, leading to a more tender result. The pepper adds a subtle warmth and complexity.
Cooking the Chicken
Now for the cooking! Heat a tablespoon or two of your favorite cooking oil (like olive oil or a neutral vegetable oil) in a large skillet over medium-high heat. You want the pan to be hot enough that the chicken sizzles immediately upon contact, creating a beautiful sear. Carefully place the seasoned chicken breasts into the hot skillet. Avoid overcrowding the pan; if necessary, cook the chicken in batches to ensure a good sear.
Allow the chicken to cook undisturbed for about 5-7 minutes per side, or until it’s cooked through and has a lovely golden-brown crust. The exact cooking time will depend on the thickness of your chicken breasts. The internal temperature should reach 165°F (74°C) when tested with a meat thermometer. Once cooked, remove the chicken from the skillet and let it rest on a cutting board for at least 5 minutes. This resting period is vital for allowing the juices to redistribute throughout the chicken, ensuring every bite is moist and tender. Skipping this step can result in dry, less flavorful chicken.
Assembling the Wraps
While the chicken is resting, let’s get our other components ready. Ensure your romaine lettuce is washed, thoroughly dried (a salad spinner is a lifesaver here!), and chopped into bite-sized pieces. This crisp, fresh lettuce is the perfect counterpoint to the savory chicken and creamy dressing. Grate your Parmesan cheese if you haven’t already – the finely grated cheese will distribute more evenly and melt slightly into the dressing.
Once the chicken has rested, it’s time to slice or dice it. You can slice it into thin strips for a more elegant presentation, or dice it into smaller pieces for easier distribution within the wrap. Whichever you choose, aim for pieces that are easy to bite through and evenly sized.
Building Your Perfect Wrap
Now for the most fun part: assembling the wraps! Lay out your large tortillas on a clean work surface. Gently warm them slightly in a dry skillet or in the microwave for a few seconds. This makes them more pliable and less likely to crack when you roll them. Spread a generous amount of Caesar dressing over each tortilla, leaving about a half-inch border. Don’t be shy with the dressing; it’s the binder that brings all the flavors together!
Next, layer on your ingredients. Start with a bed of the chopped romaine lettuce. Then, add your sliced or diced cooked chicken. Sprinkle a good amount of the grated Parmesan cheese over the chicken and lettuce. You can add more pepper at this stage if you like.
Rolling the Wraps
Rolling the perfect wrap takes a little practice, but here’s a foolproof method. Fold in the two sides of the tortilla slightly over the filling. Then, starting from the bottom edge closest to you, tightly tuck the filling in and begin extract to roll the tortilla upwards, keeping it snug. The sides you folded in will help to contain the filling, preventing it from spilling out. If your tortilla is being stubborn, a gentle but firm roll is key. For an extra secure wrap, you can secure the seam with a toothpick, though it’s often not necessary if rolled tightly enough. Repeat this process for the remaining tortillas.
And there you have it – delicious, homemade Chicken Caesar Wraps ready to be enjoyed! These are fantastic served immediately, but they also hold up well for a few hours, making them a great option for meal prep. Enjoy every satisfying bite!
Conclusion:
There you have it – a simple yet incredibly satisfying recipe for Chicken Caesar Wraps that’s perfect for a quick weeknight dinner, a portable lunch, or even a casual get-together. The beauty of this recipe lies in its balance: the crisp romaine, the tender chicken, the tangy Caesar dressing, and the delightful crunch of croutons all come together in a convenient, handheld package. It’s a flavor combination that’s universally loved, and easily adaptable to your preferences.
I truly encourage you to give these Chicken Caesar Wraps a try. They are a fantastic way to enjoy classic Caesar salad flavors in a fun, new format. For serving, these wraps are fantastic on their own, but they also pair wonderfully with a side of potato chips, a light soup, or some fresh fruit. Don’t be afraid to get creative with variations! You can swap grilled chicken for rotisserie chicken for even quicker prep, add some crispy beef bacon bits for extra indulgence, or even sprinkle in some grated Parmesan cheese directly into the filling. Whatever you choose, I’m sure you’ll love the delicious results!
Frequently Asked Questions about Chicken Caesar Wraps:
Q: Can I make the Caesar dressing from scratch?
A: Absolutely! While store-bought dressing is convenient, making your own Caesar dressing will elevate your Chicken Caesar Wraps even further. A simple homemade dressing typically includes olive oil, lemon juice, garlic, Dijon mustard, Worcestershire sauce, and a touch of anchovy paste (or finely minced anchovy fillets) for that authentic umami kick. Just whisk everything together until emulsified!
Q: What kind of tortillas work best for these wraps?
A: You have a lot of flexibility here! Large flour tortillas are the most common choice and hold up well to the filling. However, whole wheat tortillas, spinach tortillas, or even large lettuce leaves (for a lower-carb option) can also be used successfully. Just ensure they are large enough to comfortably enclose all the delicious ingredients.
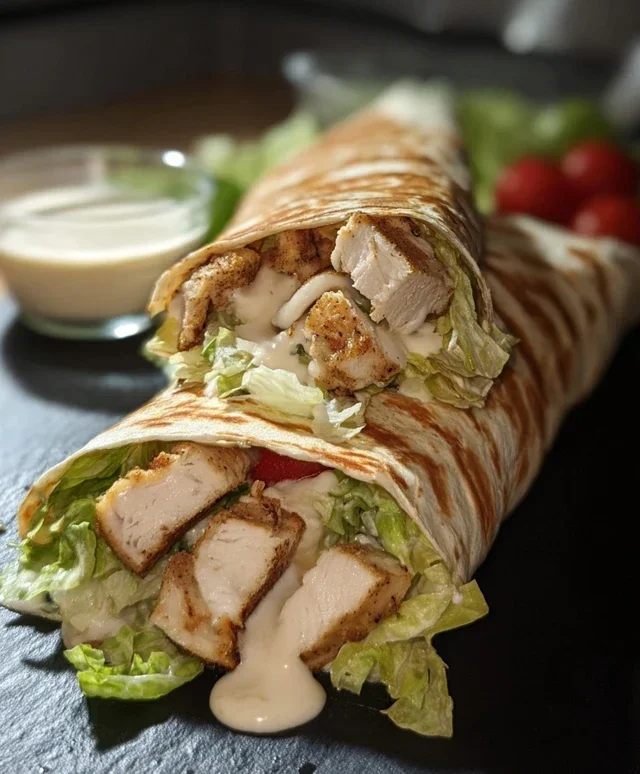
Chicken Caesar Wraps
Quick and easy chicken Caesar wraps, perfect for a weeknight meal.
Ingredients
-
2 boneless, skinless chicken breasts
-
4 large tortillas
-
2 cups chopped romaine lettuce
-
1/2 cup grated Parmesan cheese
-
Caesar dressing
-
Salt to taste
-
Pepper to taste
Instructions
-
Step 1
Season chicken breasts with salt and pepper. -
Step 2
Cook chicken breasts in a skillet over medium-high heat until fully cooked and no longer pink inside, about 6-8 minutes per side. Let cool slightly, then dice. -
Step 3
Warm the tortillas slightly, either in a dry skillet or microwave, to make them pliable. -
Step 4
In a bowl, combine the chopped romaine lettuce, diced chicken, grated Parmesan cheese, and Caesar dressing. Toss to coat. -
Step 5
Spoon the chicken Caesar mixture onto the center of each tortilla. -
Step 6
Fold in the sides of the tortilla, then roll up tightly from the bottom to create a wrap. Slice in half if desired.
Important Information
Nutrition Facts (Per Serving)
It is important to consider this information as approximate and not to use it as definitive health advice.
Allergy Information
Please check ingredients for potential allergens and consult a health professional if in doubt.