Easy Dill Dip Recipe- Quick & Creamy Appetizer
Dill dip is one of those magical recipes that brings instant smiles and satisfied sighs to any gathering. There’s something incredibly comforting and utterly delicious about this classic concoction. It’s the quintessential crowd-pleaser, the dip that disappears first from any appetizer spread, and for good reason! People adore dill dip because it strikes that perfect balance of creamy, tangy, and herbaceous notes. It’s not overpowering, yet its fresh, vibrant flavor elevates everything it’s served with, from crunchy crudités to salty potato chips. What makes this particular dill dip special is its simplicity, allowing the star ingredient – fresh dill – to truly shine, complemented by just a few carefully chosen supporting players that create an irresistible symphony of taste. You’ll find yourself reaching for this recipe again and again.
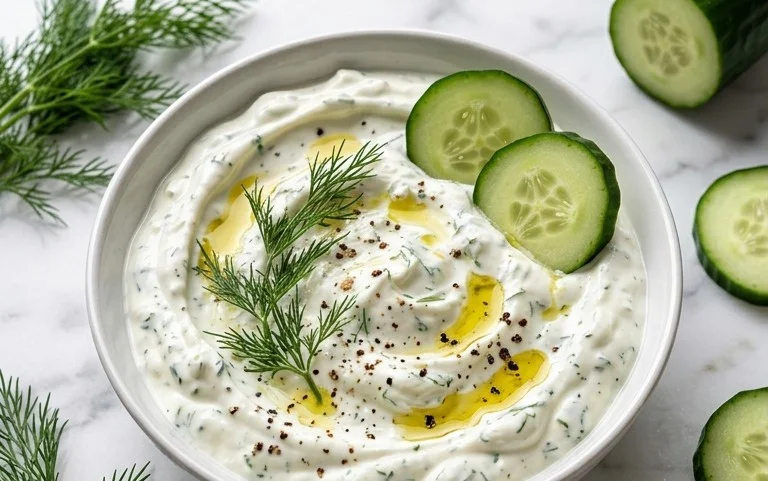
Dill Dip: The Crowd-Pleasing Classic
There are some recipes that just feel like home. They’re comforting, familiar, and always a hit at any gathering. My Dill Dip is one of those recipes. It’s incredibly easy to make, requiring no actual cooking, and the vibrant, fresh flavors are simply irresistible. Whether you’re planning a casual get-together, a potluck, or just want a delicious dip for movie night, this Dill Dip is your answer. It’s a versatile masterpiece that pairs perfectly with a wide array of dippers, from crunchy vegetables to savory crackers and even some surprising additions. Get ready to impress your friends and family with this simple yet sensational dip.
Ingredients:
Instructions:
1. The Creamy Foundation: The first step in creating this delightful dip is to establish its rich and creamy base. In a medium-sized mixing bowl, combine the mayonnaise and sour cream. I prefer to use full-fat mayonnaise and sour cream for the most decadent texture and flavor, but feel free to experiment with lower-fat versions if that’s your preference. Use a whisk or a sturdy spoon to thoroughly blend the two until they are completely smooth and homogenous. You want to ensure there are no streaks of either ingredient visible, creating a uniform, velvety canvas for the other flavors. This thorough mixing at the begin extractning is crucial for a well-emulsified dip.
2. Infusing the Aromatic Flavors: Now, it’s time to introduce the aromatic elements that give this dip its signature zing. Add the onion flakes to the mayonnaise and sour cream mixture. If you’re not a fan of biting into larger pieces of onion, you can lightly crush the onion flakes between your fingers before adding them, which helps them meld more seamlessly into the dip. Next, gently fold in the finely chopped fresh dill and fresh parsley. Using fresh herbs is non-negotiable for this recipe; dried herbs simply won’t deliver the same bright, herbaceous punch. Make sure to chop them finely so their flavor is evenly distributed throughout the dip.
3. Seasoning for Perfection: The final touch before chilling is seasoning. Sprinkle in the seasoned salt. I highly recommend using a seasoned salt like Lawrey’s because it already contains a blend of spices that complement the dill and onion beautifully, including garlic and paprika. This saves you from having to add individual spices and ensures a balanced flavor profile. Start with the recommended teaspoon and stir everything together.
4. Taste and Adjust: This is a critical step for any recipe, but especially for dips. After you’ve thoroughly mixed all the ingredients, take a small spoonful and taste the dip. This is your opportunity to customize it to your exact liking. Do you want a little more tang? Add a touch more sour cream. Is the dill flavor not quite pronounced enough? Consider adding another half tablespoon of fresh dill. Need a little more saltiness or a hint of garlic? Add a tiny pinch more of the seasoned salt or even a very small amount of garlic powder. Remember, it’s easier to add more than to take away, so make adjustments gradually.
5. The Crucial Chilling Period: For the flavors to truly meld and for the dip to reach its optimal consistency, a chilling period is absolutely essential. Once you’ve achieved your desired taste, cover the bowl tightly with plastic wrap or transfer the dip to an airtight container. Refrigerate the Dill Dip for at least 1 hour. Ideally, letting it chill for 2 to 4 hours is even better, as this allows the flavors to deepen and the ingredients to fully marry. During this time, the onion flakes will soften slightly, and the herbs will release their full fragrance, transforming a good dip into an extraordinary one. This is the secret to a truly flavorful Dill Dip that will have everyone asking for the recipe.
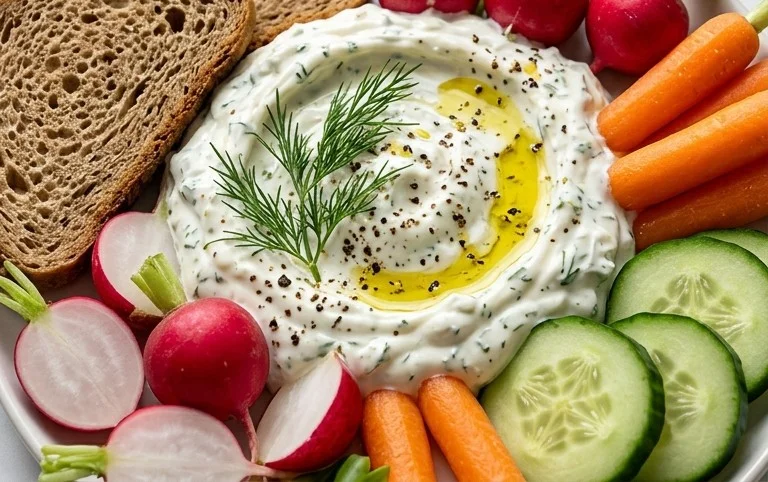
This Dill Dip is incredibly versatile. Serve it with an assortment of fresh, crisp vegetables like carrot sticks, celery sticks, cucumber slices, bell pepper strips, and broccoli florets. It’s also fantastic with a variety of crackers, from plain water crackers to everything bagel seasoning crackers. Don’t shy away from serving it with potato chips, pita bread, or even as a spread for sandwiches. For a more adventurous pairing, try it with smoked salmon or mini quiches. The possibilities are truly endless, and each bite is a testament to the power of simple, fresh ingredients coming together harmoniously. Enjoy!
Conclusion:
There you have it – a recipe for a truly fantastic Dill Dip that’s incredibly easy to whip up and delightfully versatile! This creamy, herbaceous dip is a guaranteed crowd-pleaser, perfect for everything from casual get-togethers to more formal appetizer spreads. Its refreshing dill flavor, coupled with a touch of tangin extractess, makes it an ideal companion for a wide array of dippers. Don’t hesitate to give this recipe a try; you’ll be amazed at how quickly it becomes a go-to in your entertaining repertoire.
For serving suggestions, consider pairing your dill dip with crunchy vegetable sticks like carrots, celery, cucumber, and bell peppers. It’s also exceptional with pita chips, crackers, potato chips, and even as a spread on sandwiches or wraps. Looking for variations? Feel free to experiment! Add a pinch of garlic powder for an extra punch, a dash of lemon zest for brightness, or even some finely chopped red onion for a little sweetness and texture. The possibilities are endless!
Frequently Asked Questions:
How long does this dill dip last in the refrigerator?
When stored in an airtight container, this delicious dill dip will typically last for 3-4 days in the refrigerator. The flavors often meld and deepen over time, making it even tastier on the second day!
Can I make this dill dip ahead of time?
Absolutely! In fact, making it a few hours or even a day ahead of time is highly recommended. This allows the flavors to fully develop and meld together beautifully, resulting in an even more satisfying dip.
What if I don’t have fresh dill?
If you don’t have fresh dill on hand, you can substitute it with dried dill. A general rule of thumb is to use about one-third the amount of dried dill compared to fresh. So, for example, if the recipe calls for 2 tablespoons of fresh dill, start with about 2 teaspoons of dried dill and adjust to your taste.
Dill Dip
A classic, creamy dill dip perfect for vegetables, crackers, or as a sandwich spread.
Ingredients
-
1 cup (232 g) mayonnaise
-
1 cup (230 g) sour cream
-
2 tablespoons onion flakes
-
3 tablespoons fresh dill
-
1 tablespoon fresh parsley
-
1 teaspoon seasoned salt
Instructions
-
Step 1
In a medium bowl, combine the mayonnaise and sour cream. -
Step 2
Add the onion flakes to the bowl. -
Step 3
Stir in the fresh dill. -
Step 4
Add the fresh parsley. -
Step 5
Season with the seasoned salt. -
Step 6
Mix all ingredients until well combined. For best flavor, cover and refrigerate for at least 30 minutes before serving.
Important Information
Nutrition Facts (Per Serving)
It is important to consider this information as approximate and not to use it as definitive health advice.
Allergy Information
Please check ingredients for potential allergens and consult a health professional if in doubt.