Stunning Spring Desserts- Awe Your Guests With These Treats
Stunning Spring Desserts to Awe Your Guests! As the days lengthen and nature bursts into vibrant color, our kitchens should follow suit with equally dazzling treats. We all love that moment when a dessert arrives, not just delicious, but a visual masterpiece that sparks gasps of delight. This season, I’m sharing a collection of recipes designed to do just that, elevating your gatherings from ordinary to unforgettable. What makes these stunning spring desserts so special? It’s the delicate balance of fresh, seasonal ingredients – think bright berries, fragrant citrus, and floral notes – combined with elegant presentations. These aren’t just sweet endings; they’re edible art, guaranteed to impress even the most discerning palates and make your spring celebrations truly shine. Get ready to impress your loved ones with these show-stopping creations!
Spring’s Sweet Awakening: Desserts That Dazzle!
Spring has sprung, and with it, a desire for lighter, brighter, and more vibrant flavors. After a long winter, it’s the perfect time to refresh your dessert repertoire and wow your guests with creations that capture the essence of the season. Forget heavy, rich, and complicated; this season is all about fresh fruits, delicate floral notes, and visually stunning presentations. I’ve put together a collection of stunning spring desserts that are surprisingly simple to make but deliver maximum impact. Get ready to embrace the sunshine and the sweetness!
Our Star Dessert: Lemon Raspberry Cloud Cake
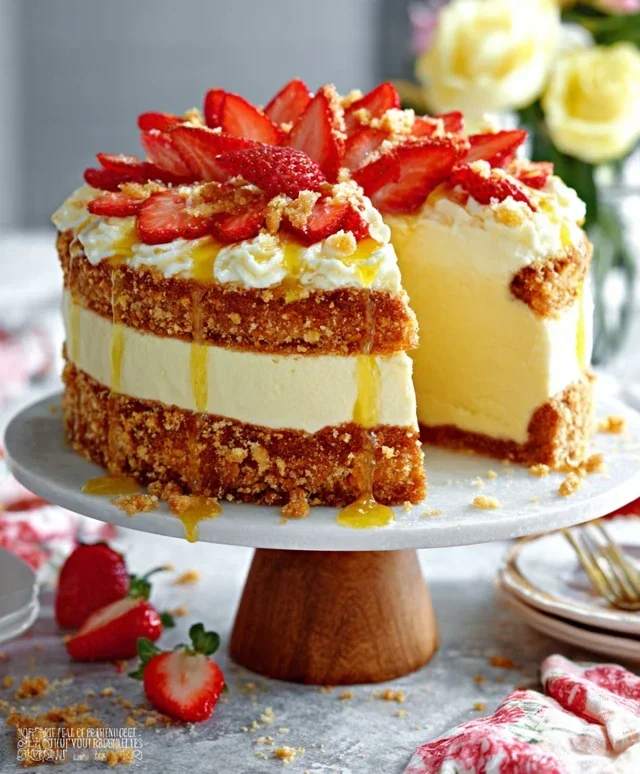
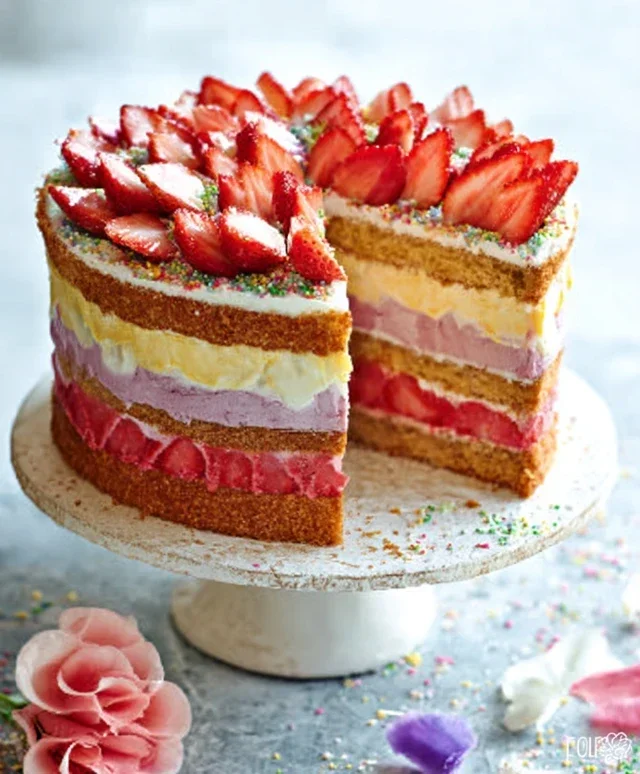
This cake is a dream! It’s impossibly light and airy, bursting with the zesty brightness of lemon and the sweet-tart punch of fresh raspberries. The ‘cloud’ comes from a delicate meringue frosting that melts in your mouth. It’s the perfect centerpiece for any spring gathering, from a casual brunch to a more formal dinner party.
Ingredients:
For the Cake:
1. Prepare Your Pans and Preheat the Oven: Before you even think about mixing ingredients, it’s crucial to get your baking environment ready. Preheat your oven to 350°F (175°C). This ensures the oven is at the correct temperature when your batter is ready, preventing uneven baking. Then, prepare two 8-inch round cake pans. The best way to do this is to grease them thoroughly with butter or non-stick cooking spray, then dust them with a light coating of flour, tapping out any excess. Alternatively, you can line the bottoms with parchment paper for extra insurance against sticking. This step is vital for easily removing your beautiful cake layers later.
2. Combine Dry Ingredients and Cream Butter and Sugar: In a medium bowl, whisk together your all-purpose flour, baking powder, and salt. This aerates the flour and ensures the leavening agents are evenly distributed, leading to a lighter cake. Set this aside. In a large mixing bowl, using an electric mixer (stand mixer or hand mixer), cream together the softened unsalted butter and granulated sugar until the mixture is pnon-alcoholic ale yellow and fluffy. This creaming process incorporates air into the batter, which is essential for a light and tender cake crum extractb. Don’t rush this; it should take about 3-5 minutes.
3. Add Wet Ingredients and Alternate with Dry: To the creamed butter and sugar mixture, add the large eggs one at a time, beating well after each addition. Next, stir in the lemon zest and fresh lemon juice, followed by the milk and vanilla extract. Make sure to scrape down the sides of the bowl occasionally to ensure everything is well incorporated. Now, it’s time to bring in your dry ingredients. Add the dry mixture to the wet ingredients in three additions, alternating with the milk mixture in two additions. Begin extract and end with the dry ingredients. Mix on low speed until just combined. Overmixing at this stage can develop the gluten in the flour too much, resulting in a tough cake. Stop mixing as soon as you no longer see streaks of flour. Gently fold in about half a cup of fresh raspberries, being careful not to crush them too much.
4. Bake and Cool the Cake Layers: Divide the batter evenly between your prepared cake pans. Smooth the tops with a spatula. Bake for 25-30 minutes, or until a wooden skewer or toothpick inserted into the center of the cakes comes out clean. The aroma filling your kitchen will be heavenly! Once baked, let the cakes cool in the pans for about 10-15 minutes before inverting them onto a wire rack to cool completely. It’s critical that the cakes are fully cooled before frosting, otherwise, your frosting will melt and slide right off. Patience here is key for a flawless finish.
For the Meringue Frosting:
1. Prepare the Meringue Base: While your cakes are cooling, let’s make the cloud-like frosting. In a clean, dry, heatproof bowl (glass or metal is best), whisk together the egg whites and a pinch of cream of tartar. Cream of tartar is a stabilizer that helps the egg whites whip up into a firmer, more stable meringue. Place this bowl over a saucepan of simmering water (ensure the bottom of the bowl doesn’t touch the water). Whisk the egg whites constantly until they are warm to the touch and no longer feel gritty when you rub a little between your fingers. This process gently cooks the egg whites, making the meringue safe to eat without further baking.
2. Whip to Stiff Peaks and Add Sugar: Remove the bowl from the heat. Using an electric mixer, begin extract whipping the egg whites on medium speed until foamy. Gradually add the powdered sugar, about a tablespoon at a time, while continuing to whip. Increase the speed to high and whip until the meringue is stiff, glossy, and holds firm peaks. When you lift the whisk, the meringue should stand up straight without drooping. This can take 5-10 minutes, so be patient. The result should be a beautifully smooth and airy frosting.
Assembly and Finishing Touches:
1. Frost and Decorate: Once your cake layers are completely cool, place one layer on your serving plate. Spread a generous amount of the meringue frosting over the top. Gently place the second cake layer on top. Cover the entire cake with the remaining meringue frosting, using an offset spatula to create beautiful swirls and peaks that mimic clouds. For an extra touch of spring, gently press fresh raspberries into the sides and top of the cake. You can also add a few fresh mint leaves for a pop of green and a hint of freshness. This cake is best served the same day it’s frosted to enjoy the meringue at its freshest and fluffiest.
This Lemon Raspberry Cloud Cake is just one example of the delightful desserts that spring inspires. Embrace the season, play with vibrant flavors, and most importantly, have fun in the kitchen creating something truly special for your loved ones!
Conclusion:
As we wrap up our exploration of these stunning spring desserts, I hope you’re feeling inspired to bring a touch of seasonal magic to your table. These recipes are more than just sweet treats; they’re vibrant expressions of spring’s arrival, bursting with fresh flavors and beautiful aesthetics that are sure to impress your guests. From the delicate floral notes of the lavender panna cotta to the zesty brightness of the lemon raspberry tart, each dessert offers a unique way to celebrate the season. Don’t be shy to experiment! These recipes are wonderfully adaptable. Feel free to swap berries, introduce different herbs, or even get creative with your garnishes. The most important ingredient, after all, is your own enthusiasm. So go ahead, dive in, and create something truly spectacular. I can’t wait for you to experience the joy of sharing these delightful creations!
Frequently Asked Questions:
Can I make these desserts ahead of time?
Absolutely! Many of these spring desserts, like the panna cotta and the cheesecake, can be made a day or two in advance, making your entertaining much smoother. For tarts, it’s often best to bake the crust ahead of time and assemble the filling closer to serving to maintain optimal crispness.
What if I can’t find a specific spring fruit?
Don’t worry! The beauty of these recipes lies in their adaptability. If you can’t find fresh raspberries, for instance, try using strawberries, blueberries, or even a mix of seasonal berries. The key is to embrace the spirit of spring and use what’s freshest and most appealing to you.
Are these recipes suitable for begin extractners?
Yes, many of these stunning spring desserts are designed with varying skill levels in mind. While some might involve a few more steps, I’ve aimed to provide clear instructions. Start with a recipe that feels comfortable, and don’t be afraid to practice. The results are well worth the effort!
Stunning Spring Desserts to Awe Your Guests!
A collection of delightful and visually appealing spring desserts perfect for impressing guests.
Ingredients
-
1 cup all-purpose flour
-
1/2 cup granulated sugar
-
1/4 teaspoon salt
-
1/2 cup unsalted butter, softened
-
2 large eggs
-
1 teaspoon vanilla extract
-
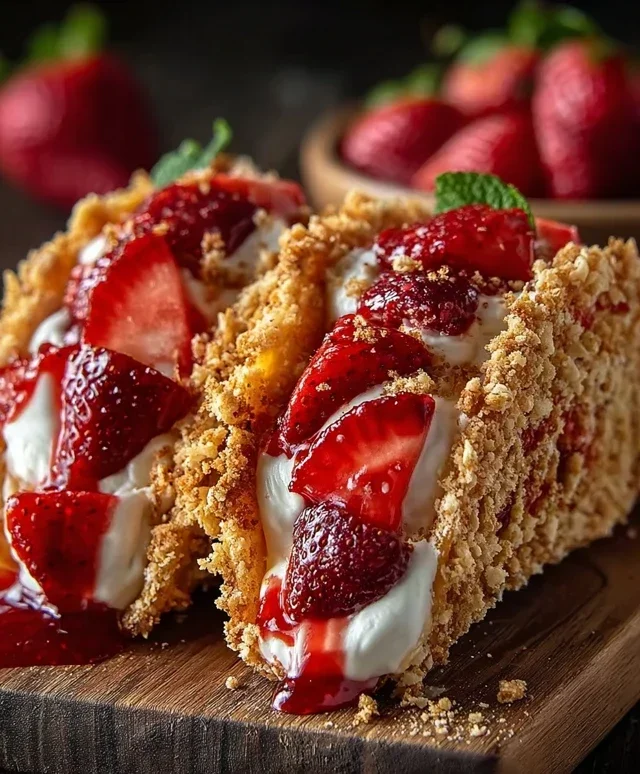
1 cup fresh strawberries, sliced
-
1/2 cup heavy cream
-
2 tablespoons powdered sugar
-
Fresh mint sprigs, for garnish
Instructions
-
Step 1
Preheat oven to 350°F (175°C). Grease and flour an 8-inch cake pan. -
Step 2
In a large bowl, whisk together the flour, granulated sugar, and salt. -
Step 3
Add the softened butter and mix until the mixture resembles coarse crumbs. -
Step 4
In a separate small bowl, whisk together the eggs and vanilla extract. Add this to the dry ingredients and mix until just combined. Do not overmix. -
Step 5
Pour the batter into the prepared cake pan and spread evenly. -
Step 6
Bake for 30-35 minutes, or until a toothpick inserted into the center comes out clean. -
Step 7
Let the cake cool in the pan for 10 minutes before inverting it onto a wire rack to cool completely. -
Step 8
While the cake cools, whip the heavy cream with the powdered sugar until stiff peaks form. Gently fold in the sliced strawberries. -
Step 9
Once the cake is cool, frost it with the strawberry whipped cream. Garnish with fresh mint sprigs before serving.
Important Information
Nutrition Facts (Per Serving)
It is important to consider this information as approximate and not to use it as definitive health advice.
Allergy Information
Please check ingredients for potential allergens and consult a health professional if in doubt.