Sweet Potato Tortillas – Easy Gluten-Free Vegan Wraps
Sweet potato tortillas are about to revolutionize your wrap game, and I’m so excited to share this recipe with you! Forget those store-bought options that often leave you feeling less than satisfied. These homemade sweet potato tortillas are a revelation – naturally gluten-free, completely vegan, and bursting with a subtle, comforting sweetness that pairs perfectly with any filling.
Why do we love wraps? They’re the ultimate blank canvas for deliciousness, perfect for quick lunches, satisfying dinners, or even fun breakfast burritos. But what makes these sweet potato tortillas so special? It’s the vibrant color, the tender yet sturdy texture, and the fact that they’re crafted with simple, wholesome ingredients you can feel great about. They offer a delightful twist on a familiar favorite, proving that healthy eating can be incredibly flavorful and incredibly easy.
Sweet Potato Tortillas (Gluten-Free Vegan Wraps)
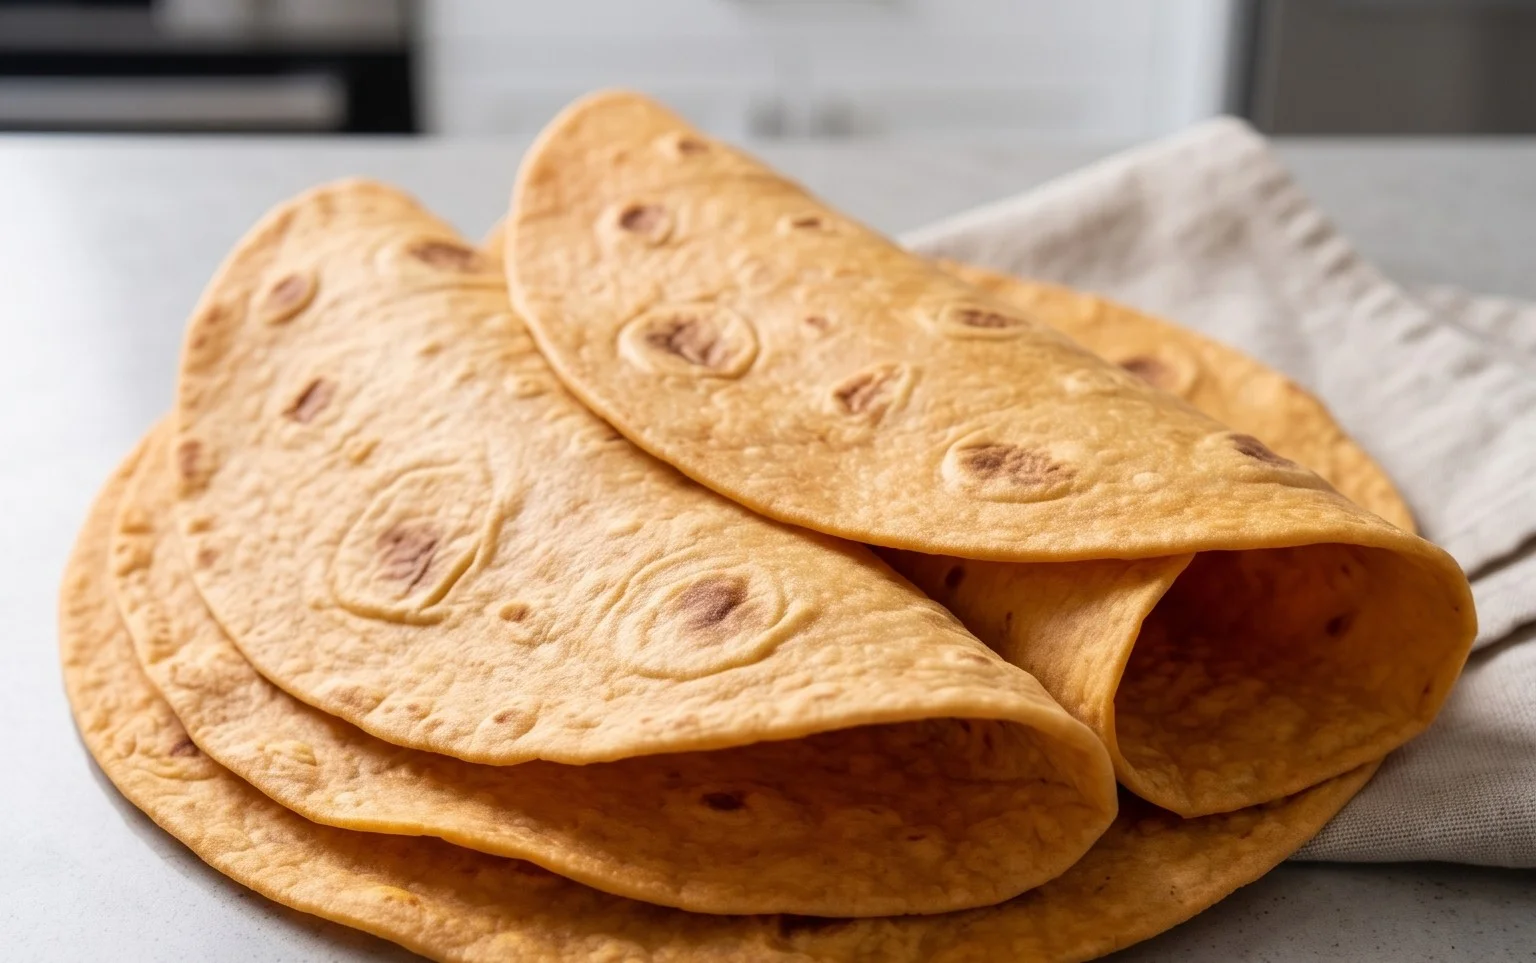
Say goodbye to bland, dry gluten-free wraps! These Sweet Potato Tortillas are a game-changer for anyone seeking delicious, pliable, and wholesome vegan wraps. Packed with the natural sweetness of sweet potatoes and a hint of savory spices, they are incredibly versatile. Whether you’re craving breakfast burritos, hearty lunch wraps, or even a creative pizza base, these tortillas will elevate your culinary creations. What sets these apart is their wonderfully soft texture and the fact that they hold together beautifully, unlike many store-bought gluten-free alternatives. Plus, they’re surprisingly easy to make, even if you’re new to gluten-free baking. The secret lies in the perfect combination of ingredients and a simple cooking technique that ensures a tender, flexible result every time.
Ingredients:
Instructions:
1. Prepare the Sweet Potato Base:
The foundation of these delightful tortillas is, of course, the sweet potato. Start by preparing your sweet potatoes. You’ll want them to be completely cooked and mashed until there are no lumps. Steaming or boiling them until fork-tender is ideal. Crucially, make sure there’s no excess liquid in your mashed sweet potato. If you boiled them, drain them thoroughly. The goal is a dense, moist mash. Allow the mashed sweet potato to cool slightly before proceeding. This prevents the other ingredients, especially the sourdough starter, from being “cooked” prematurely. Once cooled to a warm, but not hot, temperature, transfer the mashed sweet potato to a large mixing bowl.
2. Incorporate the Fats and Seasonings:
Next, add the vegan butter (or oil) to the warm mashed sweet potato. The fat will help to create a tender texture and add a subtle richness. I personally love the flavor and creaminess Miyoko’s vegan butter brings, but feel free to use your favorite. Stir the butter into the sweet potato until it’s fully incorporated and you have a smooth, creamy mixture. Now, it’s time for the flavor boosters! Add the sea salt, black pepper, onion powder, and garlic powder. These spices not only enhance the savory notes of the tortilla but also complement the natural sweetness of the sweet potato beautifully. Stir everything together until well combined. If the mixture seems a little stiff, you can add 1 tablespoon of hot water at this stage to loosen it up.
3. Activate the Dough and Add Starches:
This is where the magic really begin extracts. Gently fold in your gluten-free sourdough starter. If you don’t have a gluten-free sourdough starter, don’t worry! You can substitute it with 1/4 cup of water mixed with 1 teaspoon of apple cider vinegar and let it sit for 5 minutes to curdle, then add it to the mixture. This creates a similar acidic environment that helps with texture. Next, sprinkle in the psyllium husk. Psyllium husk is a fantastic binder in gluten-free recipes, mimicking the elasticity that gluten provides. Stir it in thoroughly; it will start to absorb moisture and thicken the mixture. Now, gradually add the arrowroot flour. Start with 2 tablespoons and mix well. The arrowroot flour acts as a starch that contributes to the flexibility and tenderness of the tortillas. If the dough still feels too wet or sticky, add the remaining tablespoon of arrowroot flour. You’re aiming for a dough that is still slightly tacky but manageable to handle. If you desire puffier tortillas, now is the time to add the baking powder and give it a final stir.
4. Form and Cook the Tortillas:
Turn the dough out onto a lightly floured surface (using more arrowroot flour or your preferred gluten-free flour). You’ll want to work with the dough relatively quickly once the psyllium husk has been added, as it continues to absorb moisture. Divide the dough into 4 to 6 equal portions, depending on how large you want your tortillas to be. Roll each portion into a ball. Place one ball of dough between two sheets of parchment paper. Using a rolling pin, carefully roll out each ball into a thin circle, about 6-8 inches in diameter. Aim for an even thickness, as this will ensure consistent cooking. Don’t worry if they aren’t perfectly round; rustic is beautiful!
5. Cook to Perfection:
Heat a dry, non-stick skillet or griddle over medium heat. You don’t need any oil for this step, as the dough has enough fat. Carefully peel off the top layer of parchment paper and gently lay the tortilla into the hot skillet, top-side up (the side that was against the parchment). Cook for 2-3 minutes per side, or until golden brown spots appear and the tortilla starts to puff up slightly. Flip the tortilla and cook the other side for another 2-3 minutes. The cooking time may vary slightly depending on your stove and skillet, so keep an eye on them. As each tortilla is cooked, immediately wrap it in a clean kitchen towel or place it in a tortilla warmer. This is crucial for keeping them warm, soft, and pliable for serving. The steam trapped by the towel will prevent them from drying out and becoming brittle. Repeat this process with the remaining dough portions. Once all tortillas are cooked, they are ready to be filled and enjoyed! These sweet potato tortillas are best enjoyed fresh, but can be stored in an airtight container in the refrigerator for up to 3 days. Reheat gently on a skillet or in the microwave before serving.
Conclusion:
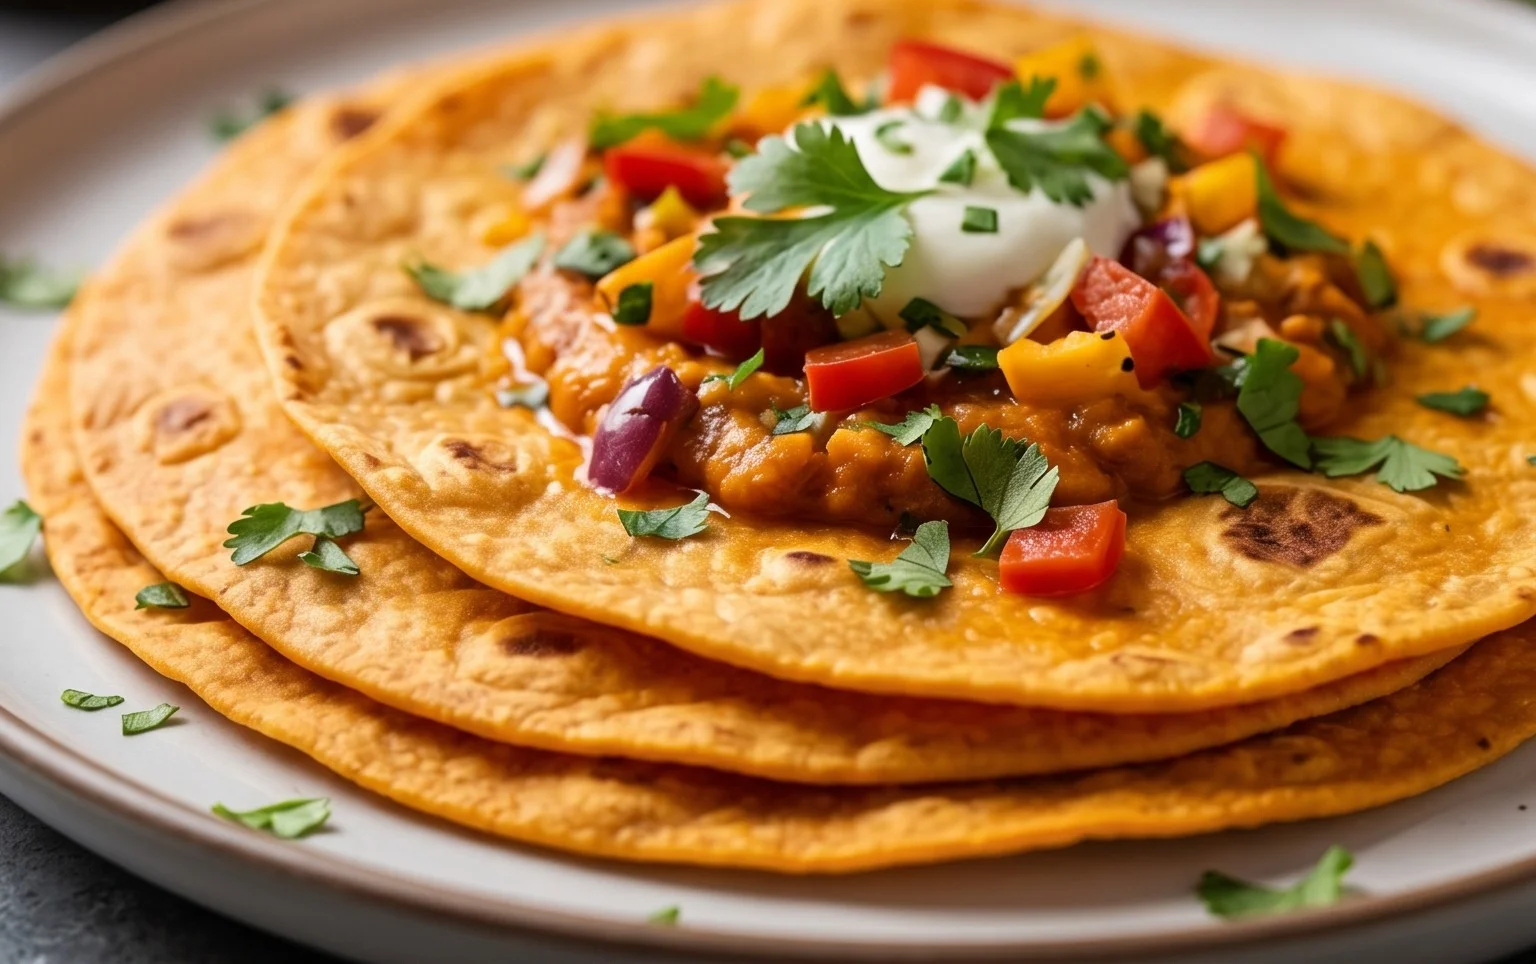
You’ve now got the blueprint for creating delicious, wholesome Sweet Potato Tortillas (Gluten-Free Vegan Wraps) that are sure to become a staple in your kitchen! These vibrant, nutrient-packed wraps are a fantastic alternative to traditional flour tortillas, offering a naturally sweet and satisfying base for any meal. Their versatility is truly their superpower; enjoy them warm and pliable straight from the pan, or let them cool for a slightly firmer texture. They’re perfect for loaded burritos, quesadillas, taco night, or even as a base for mini pizzas. Don’t be afraid to experiment with spices – a pinch of smoked paprika or cumin can add a lovely depth of flavor. I truly encourage you to give this recipe a try; you’ll be amazed at how easy and rewarding it is to make your own gluten-free vegan wraps from scratch!
Frequently Asked Questions:
Q: How should I store leftover sweet potato tortillas?
A: Once cooled completely, store your sweet potato tortillas in an airtight container or a resealable bag in the refrigerator for up to 3-4 days. You can also freeze them for longer storage. Place parchment paper between each tortilla to prevent sticking, then seal them in a freezer-safe bag. Reheat gently on a dry skillet or in the microwave.
Q: My tortillas are a bit sticky while cooking, what can I do?
A: A slightly sticky dough is normal for these wraps. Ensure your skillet is adequately heated before adding the dough. You can also lightly dust your rolling surface and rolling pin with a gluten-free flour blend (like rice flour or tapioca starch) if needed, but try to use as little as possible to maintain the sweet potato flavor and texture.
Sweet Potato Tortillas (Gluten-Free Vegan Wraps)
Delicious and versatile gluten-free vegan wraps made with sweet potato, perfect for any filling.
Ingredients
-
2 small sweet potatoes, steamed or boiled (no liquid / mashed)
-
2 tbsp vegan butter
-
1-2 tbsp hot water
-
3/4 tsp sea salt
-
1/4 tsp black pepper
-
1/2 tsp onion powder
-
1/2 tsp garlic powder
-
3/4 cup gluten free sourdough starter
-
2 tsp psyllium husk
-
2-3 tbsp arrowroot flour
-
1/2 tsp baking powder
Instructions
-
Step 1
In a large bowl, mash the steamed or boiled sweet potatoes until smooth. -
Step 2
Add the vegan butter, hot water, sea salt, black pepper, onion powder, and garlic powder to the mashed sweet potatoes. Mix well. -
Step 3
Stir in the gluten-free sourdough starter and psyllium husk until fully incorporated. -
Step 4
Gradually add the arrowroot flour, 1 tablespoon at a time, until a soft dough forms that is not too sticky. -
Step 5
If using, mix in the baking powder for puffier tortillas. -
Step 6
Divide the dough into 6-8 equal portions and roll each into a ball. -
Step 7
On a lightly floured surface (using arrowroot flour or another gluten-free flour), flatten each ball into a thin tortilla shape using a rolling pin or a tortilla press. -
Step 8
Heat a lightly oiled or dry skillet or griddle over medium heat. Cook each tortilla for 2-3 minutes per side, until lightly browned and cooked through.
Important Information
Nutrition Facts (Per Serving)
It is important to consider this information as approximate and not to use it as definitive health advice.
Allergy Information
Please check ingredients for potential allergens and consult a health professional if in doubt.